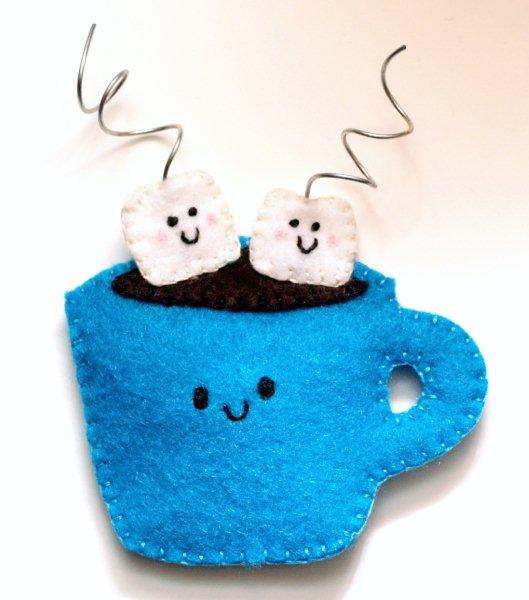
This little ornament is perfect to remind me of those cold – or not so cold – winter nights!!
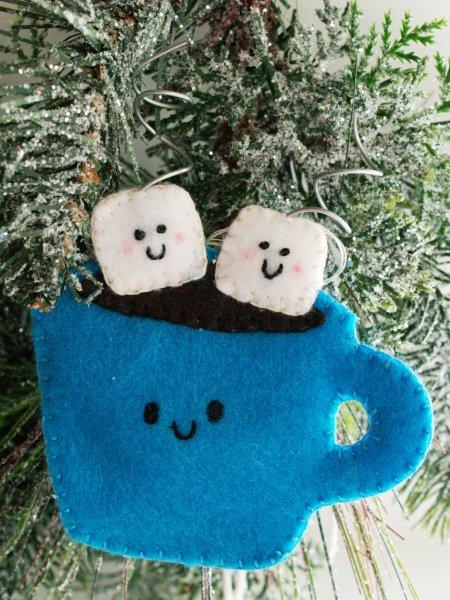
Isn’t it cute? I was in Target the other day and saw these cute pj’s in the girls section that had a smiling mug of cocoa and two little cute marshmallows on the front. I thought the idea would be perfect for a fun little ornament!
Here’s what you’ll need to make your own:
Felt – blue, brown and white
Embroidery floss – matching colors
tiny bit of pink paint
thin batting
floral wire
Pattern – click here to download
Embroidery floss – matching colors
tiny bit of pink paint
thin batting
floral wire
Pattern – click here to download
Start by cutting out all your pieces out of felt.
Place the cocoa piece over the top mug piece, according to the placement on the pattern.
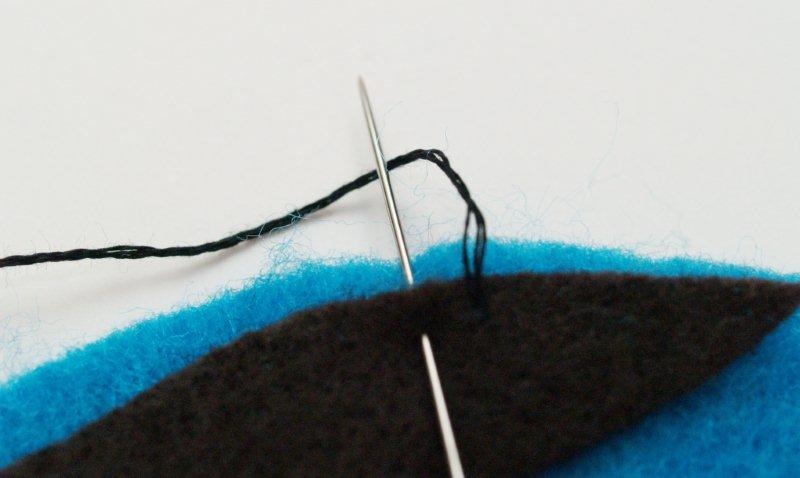
Sew the cocoa to the mug using a blanket stitch.
This is super easy and not scary at all. Start by bringing your needle up about 1/4″ below the edge of the brown felt.
Sew the cocoa to the mug using a blanket stitch.
This is super easy and not scary at all. Start by bringing your needle up about 1/4″ below the edge of the brown felt.

Sew a little stitch about 1/4″ from the left of this one, putting the needle 1/4″ below the edge of the felt and bringing it out just above the felt. Make sure the needle passes over the loop of thread.
Repeat this last step again to start forming the blanket stitch.
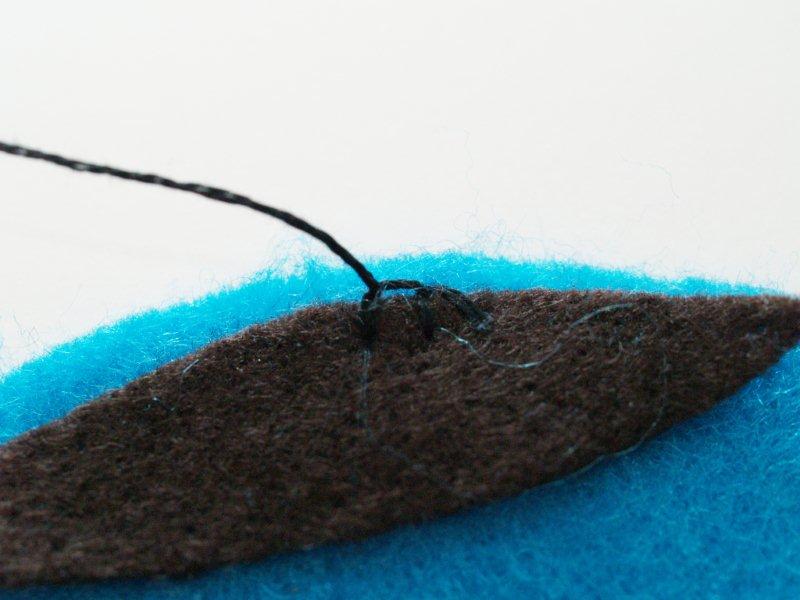
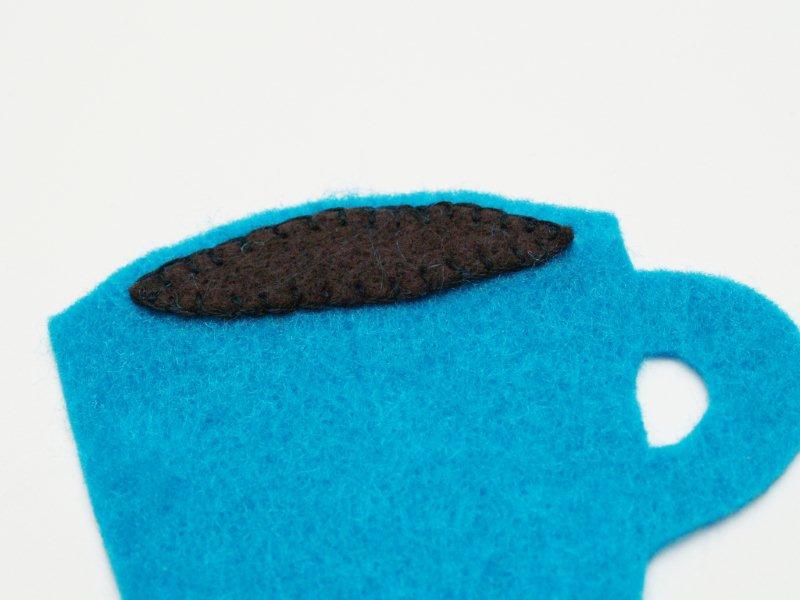
Sew all the way around the cocoa piece until you come back to the beginning. For the last stitch, loop it through the first stitch to make the thread lay flat.
Sew the eyes and mouth onto this piece by using small stitches and following the pattern placement.
Fill the eyes in with long straight stitches.
Fill the eyes in with long straight stitches.
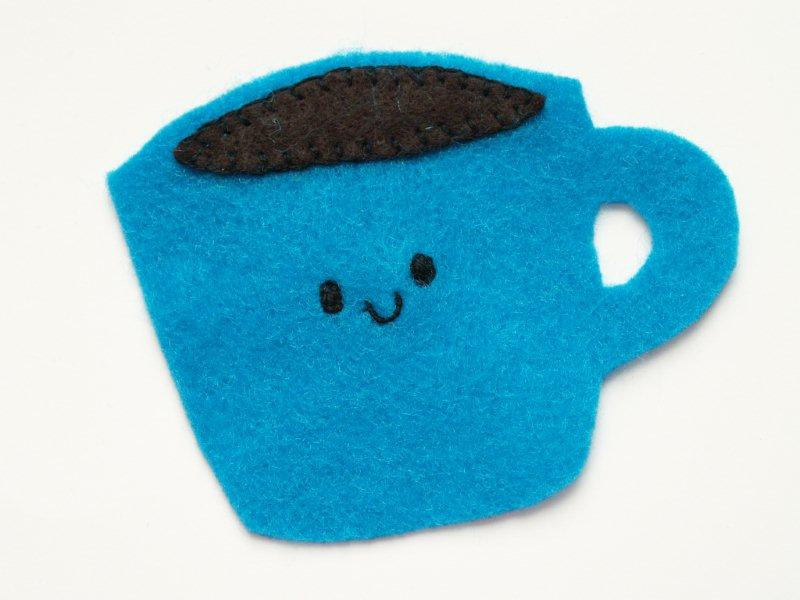
Oh so cute!!
Cut out a layer of thin batting the same pattern as the mug and layer it between the mug front and back.
Sew together the mug pieces beginning with the inside of the mug handle. Use a blanket stitch, making sure the batting doesn’t show between.
Cut out a layer of thin batting the same pattern as the mug and layer it between the mug front and back.
Sew together the mug pieces beginning with the inside of the mug handle. Use a blanket stitch, making sure the batting doesn’t show between.
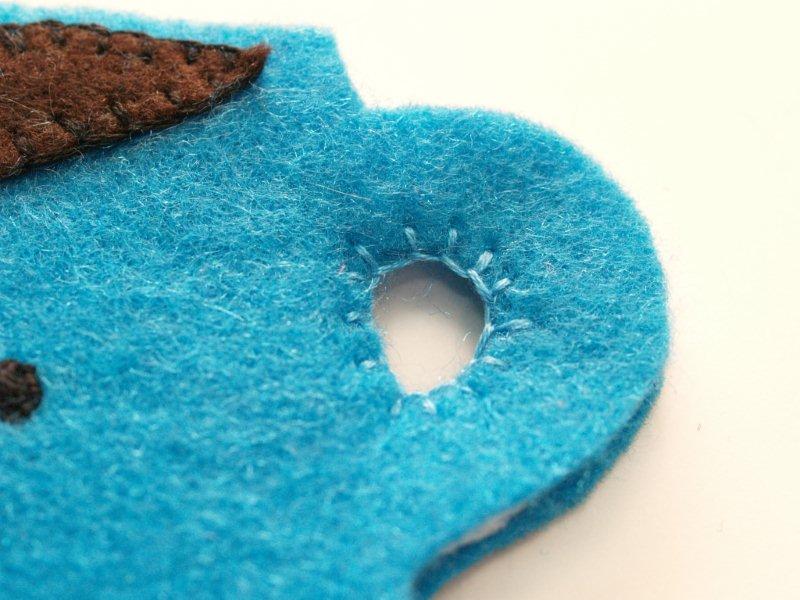
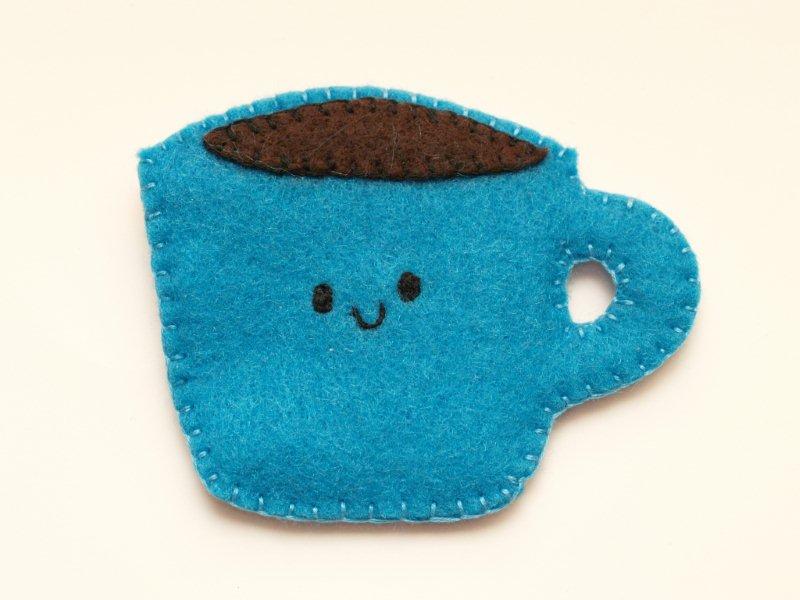
Sew together the mug pieces around the outside edge of the mug using a blanket stitch.
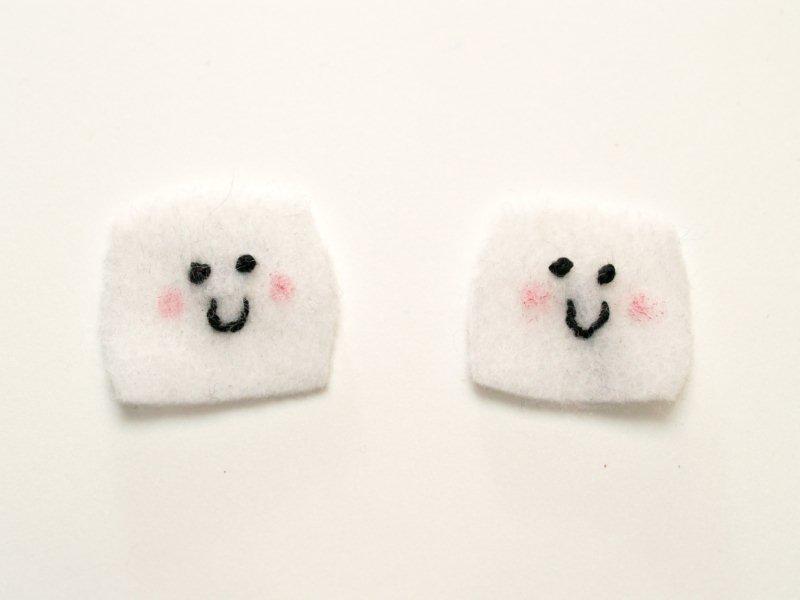
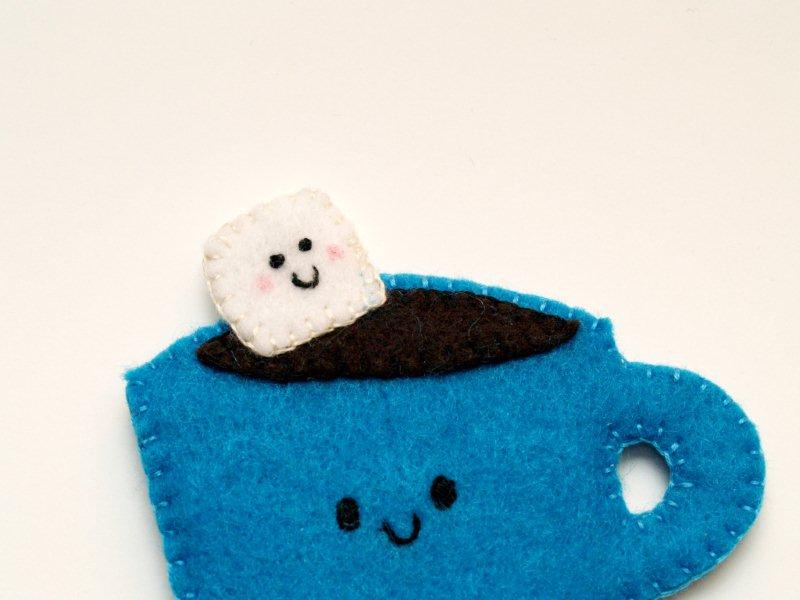
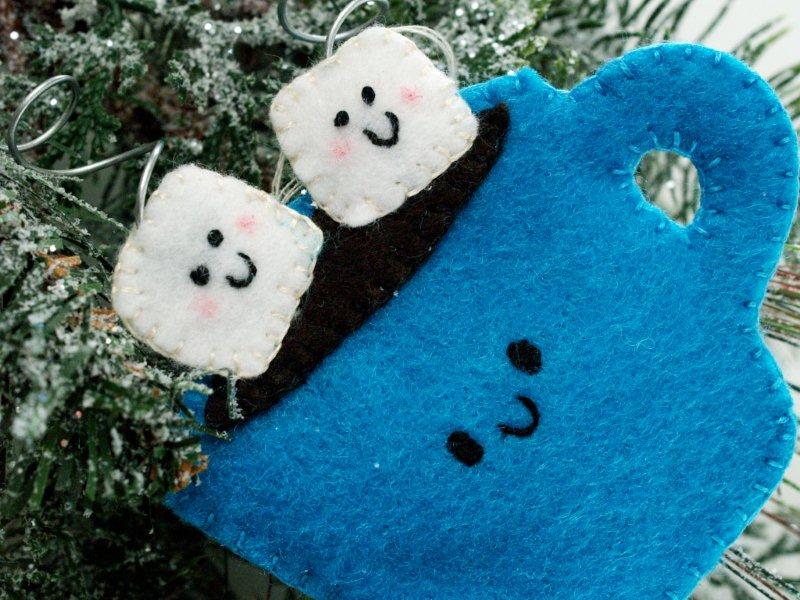
Make faces on two of the marshmallow pieces according to the pattern placement. Use french knots for the eyes.
Dab a tiny bit of pink paint on to give them rosy cheeks. :)
Dab a tiny bit of pink paint on to give them rosy cheeks. :)
Layer together a marshmallow front and back with a piece of batting between them. Start sewing them together with a blanket stitch about halfway down on the right side. Sew across the top and down the left side about halfway.
Place the marshmallow on top of the cocoa section of the mug.
Place the marshmallow on top of the cocoa section of the mug.
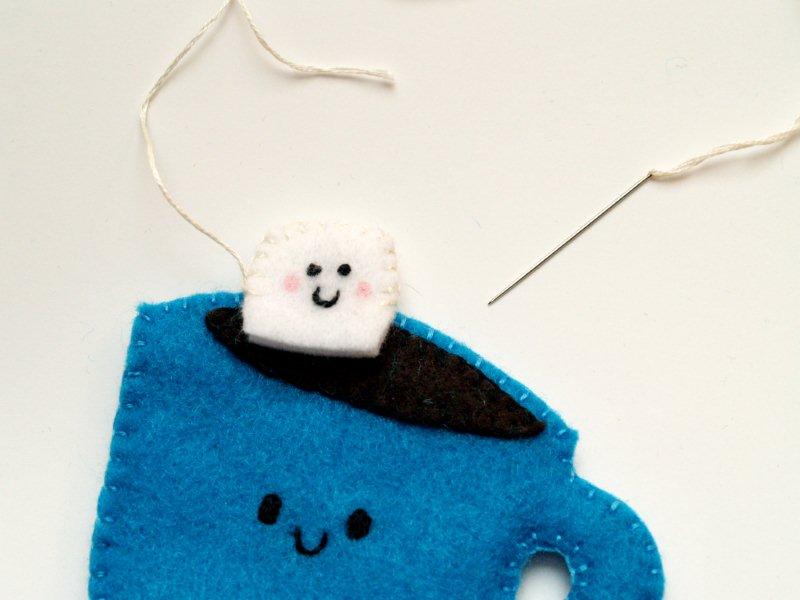
Finish sewing the marshmallow closed, but for the rest of the way around, sew it to the mug as you go.
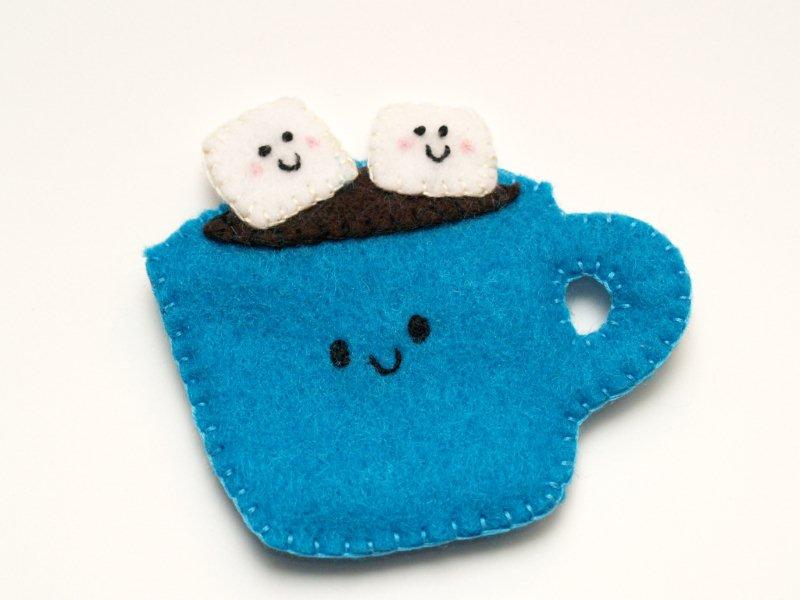
Repeat for the other Marshmallow.
To make the steam “curls”, wrap a piece of wire around a pen or something handy like that.
This is my Party Pictionary pen. Yes, this was what was handy.
You never know when you’re going to need to draw a random doodle so someone can guess what you drew.
This is my Party Pictionary pen. Yes, this was what was handy.
You never know when you’re going to need to draw a random doodle so someone can guess what you drew.
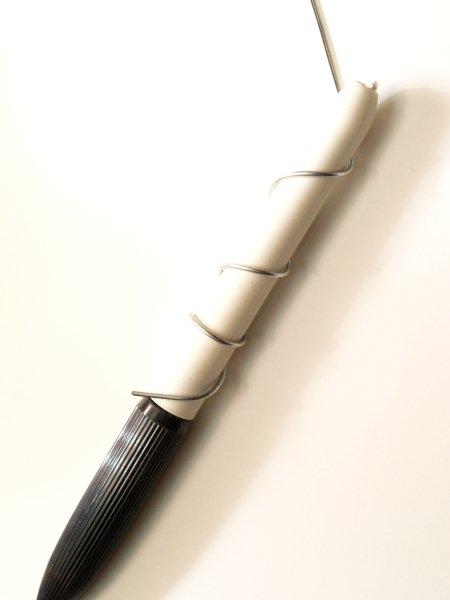
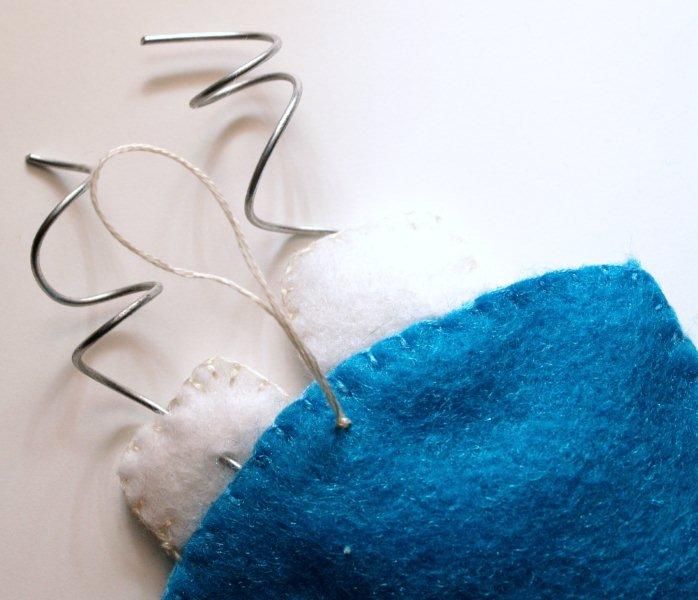
Leave a bit of wire (about 3″) on the end straight. Clip the wire.

Feed the straight end of the wire down through the top of one of the marshmallows, between the felt pieces. Force it through the felt in the back just where the mug starts, then feed it into the mug pieces.
This will help it stay straight up. You can then bend and adjust the curl they way you want.
Repeat with the other marshmallow and another wire curl.
This will help it stay straight up. You can then bend and adjust the curl they way you want.
Repeat with the other marshmallow and another wire curl.
Make a loop with embroidery floss and sew it to the back of the ornament for hanging.
Admire your cute new little ornament!!

Doesn’t it just make you smile?
And want a mug of hot chocolate? :)
And want a mug of hot chocolate? :)
I hope you like it!!
No comments:
Post a Comment